Assessing Your Viewing Environment
How to use a projector? To get the most out of your machine, evaluate your room’s lighting and size.
Consider Ambient Light and Space
Check for windows that might let in light, and use dark curtains to block it.
Decide where you want the biggest image and make sure there’s enough wall space.
Choosing the Right Location for Projector and Screen
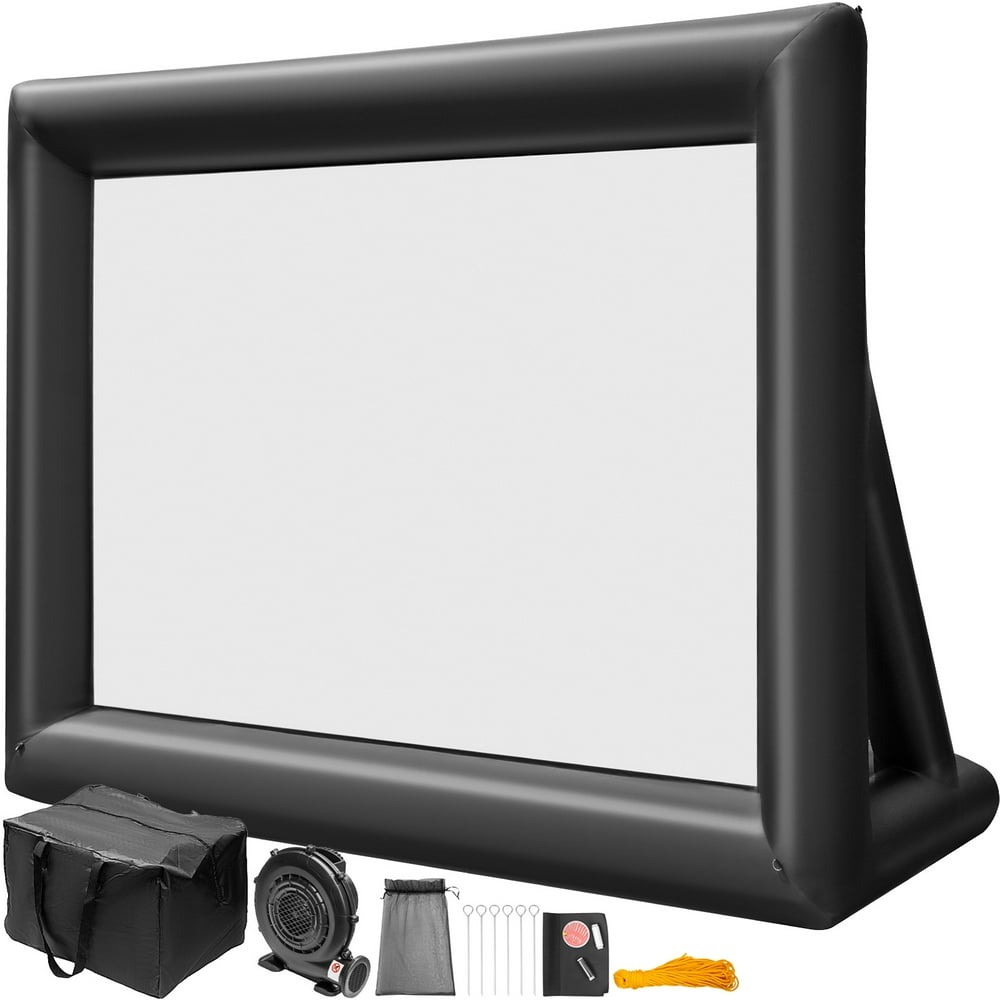
Place your projector so it faces the screen or wall directly with no obstructions.
Make sure there’s enough distance between projector and screen for a clear image.
Select a spot where the projector’s fan noise won’t disrupt your viewing experience.
Setting Up Your Projector
Efficient projector setup enhances your viewing experience significantly.
Positioning and Securing the Projector
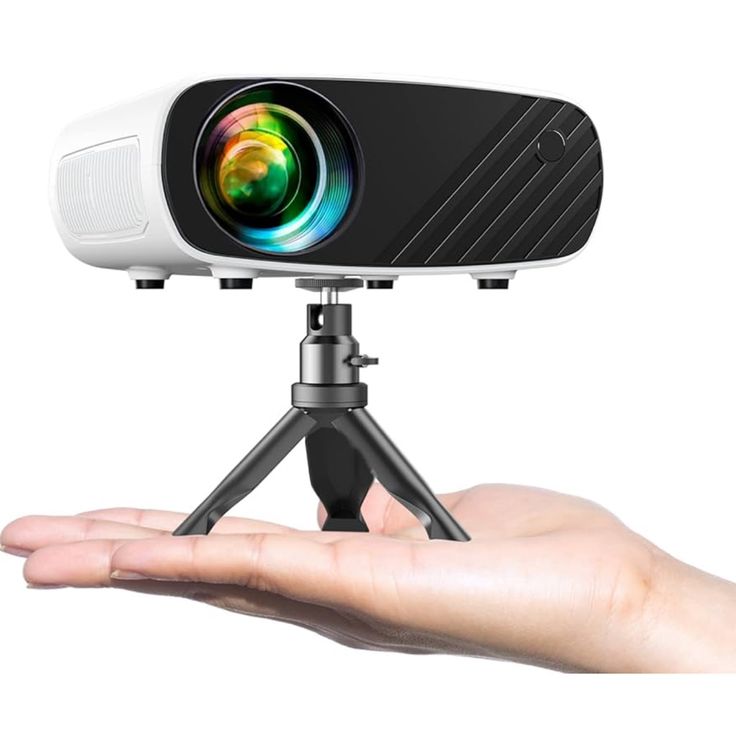
Choosing the right spot is crucial for the best image quality. Place your projector flat on a stable surface or secure it onto a ceiling mount. Ensure it’s aligned with your screen or wall, and there’s nothing obstructing the path of the image. This will prevent distortion and maintain focus. Ventilation is also a key consideration – projectors can overheat, so provide enough room for proper airflow.
Adjusting Image Quality and Screen Alignment
Next, adjust your projector settings to fit your specific room conditions. Focus the lens until the image is sharp. If your image isn’t square, use keystone correction to align it properly. Also, test different zoom levels to fit the image to your screen size. Remember, for the most vivid picture, calibrate brightness and contrast based on the room’s ambient light.
Connectivity with Source Devices
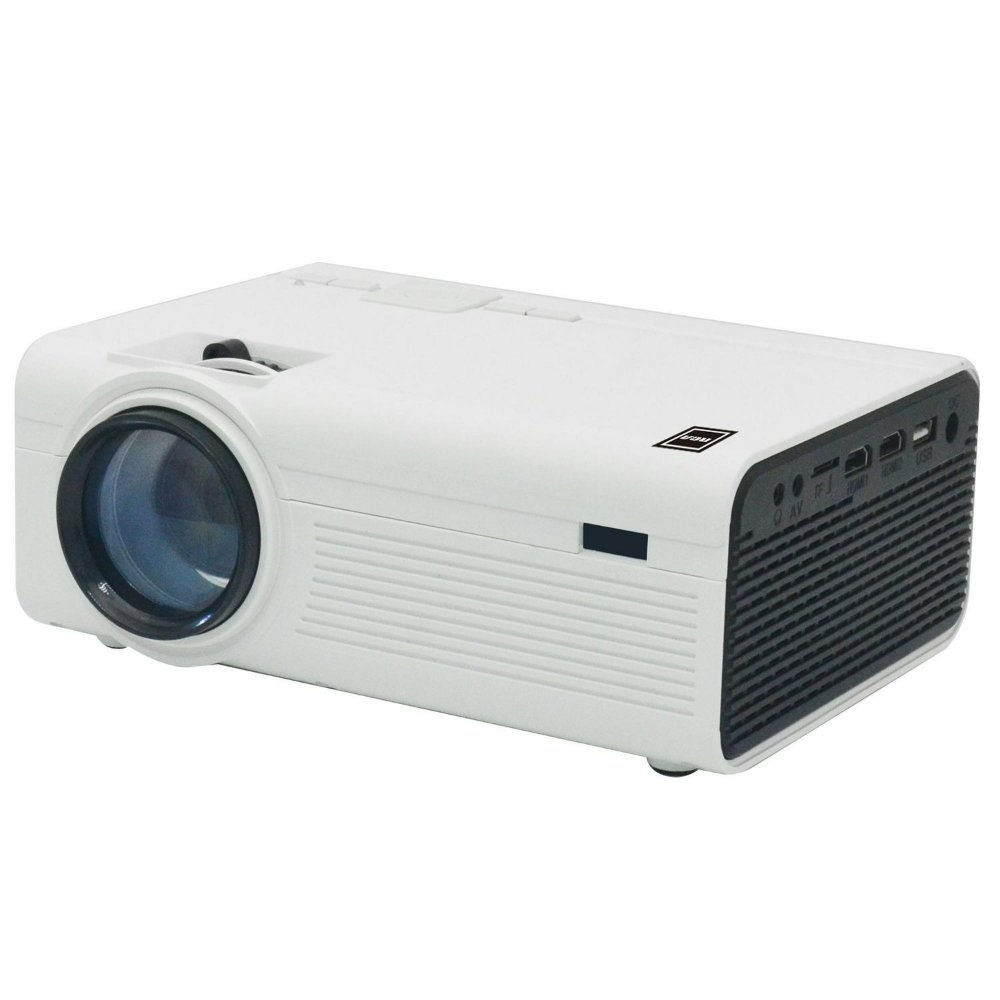
Finally, connect your projector to your video sources. Most projectors offer HDMI connections for easy setup with laptops, gaming consoles, or streaming devices. For a secure and clean setup, manage cables properly, perhaps with ties or clips. Your projector might offer wireless connectivity, a convenient choice to reduce cable clutter. Also, keep in mind the audio: connect your projector to external speakers for a cinematic sound experience, using the audio out jack or through Bluetooth if available.
Audio Considerations
Choosing the right audio options will define your viewing experience with a projector.
Internal vs. External Sound Options
Projectors often come with built-in speakers. Yet, these may not be strong enough for a full sound experience. For larger rooms or true cinema feel, external sound options are better. Soundbars or speakers enhance audio dramatically. They make movies and games more immersive. Consider the projector’s location and your room’s acoustics when deciding.
Audio Connection and Setup
To connect external audio, look for an audio out jack on your projector. You can also use Bluetooth for wireless sound with compatible devices. Get the right cables for wired connections. Follow the sound equipment’s manual for setup steps. Test the audio to sync it with the video. Adjust settings like volume and equalization based on your preferences. Remember, proper audio setup takes the strain off projector speakers and can extend their life.
Exploring Connection Methods
Exploring various connection methods is crucial when using a projector as a TV. It ensures that you utilize your projector’s capabilities to their fullest. Below we explore three popular methods.
Using a Cable Box for Traditional Broadcasting
A cable box allows for traditional TV broadcasting through your projector. Since most projectors lack built-in TV tuners, connecting a cable box is essential for accessing local TV channels. It involves simple steps: connect the cable box to your projector using an HDMI cable. This setup supports conventional TV functions and allows for easy channel navigation with a remote.
Integrated Applications and Smart Projectors
Modern projectors often come with integrated applications, allowing a direct streaming experience without extra devices. Common platforms include Android TV or Google TV, enhancing your projector’s utility with app-based streaming. Check if your projector supports this and explore available applications for a built-in streaming solution.
Connecting with Streaming Devices
Using streaming devices like Roku, Google Chromecast, or Apple TV can transform your projector into a smart TV. Connect the device via an HDMI cable to your projector. Streaming devices require stable internet and allow access to a wide range of streaming services, making them a versatile choice for modern entertainment setups.
Projector Calibration and Settings
Proper calibration is key to the best projector performance. Adjust settings for the right room light and content type.
Adjusting Brightness, Contrast, and Color Calibration
Match brightness and contrast to your room’s light. Calibrate colors for true-to-life images. Use test patterns or calibration tools for precise settings.
Selecting the Correct Aspect Ratio and Picture Mode
Pick the aspect ratio that matches your content. Choose a picture mode to fit your viewing situation. ‘Cinema’ or ‘Movie’ mode is great for dark rooms, while ‘Vivid’ or ‘Dynamic’ is better for rooms with light.
Maintaining Your Projector for Optimal Performance
Ensuring your projector remains in top condition extends its life and enhances performance. Regular maintenance and troubleshooting can save you from future hassles and improve your viewing experience.
Regular Maintenance Tips
Taking care of your projector involves simple, yet important steps:
- Clean the Lens Regularly: Dust and fingerprints can blur your projection. Use a soft, lint-free cloth to gently clean the lens.
- Check the Air Filter: Prevent overheating by cleaning or replacing the air filter regularly. This keeps the fan running smoothly.
- Keep the Projector Cool: Always ensure proper ventilation around your projector. Avoid placing it in confined spaces.
- Handle with Care: When moving your projector, be gentle. Bumps and shocks can misalign internal components.
- Update Software: If your projector has software features, keep them updated. This ensures compatibility and efficiency.
Troubleshooting Common Issues
Sometimes you might encounter issues. Here’s how to resolve common problems:
- Image is Blurry: Adjust the focus using the focus ring. If this doesn’t work, check if the lens is clean.
- Projector Overheats: Make sure there’s enough ventilation around the projector. Check if the air filter is clogged.
- Connection Problems: Ensure all cables are securely connected. Check if you’re using the right input source settings.
- Audio Issues: If using external audio, check all connections. Adjust the audio settings on your projector or sound system.
Enhancing Your Viewing Experience
To elevate your home theater setup, consider accessories and audio enhancements that can significantly improve your viewing experience. A well-rounded home theater not only relies on a good TV but also benefits from various supplements that contribute to sound quality, visual impact, and overall convenience.
Accessorizing with Stands and Mounts
Accessories like stands and mounts add to your projector’s usability and viewing comfort.
- Stands: Select a stand to keep your projector stable and at the right height.
- Ceiling Mounts: Opt for a ceiling mount to save space and position your projector perfectly.
- Wall Mounts: Use wall mounts for side projection or if ceiling mounting isn’t an option.
Choose mounts and stands compatible with your projector’s model for secure installation.
Improving Audio with External Speakers or Sound Systems
For immersive sound, external speakers or sound systems are essential.
- Soundbars: Simple to set up, they offer quality audio and can be placed under the screen.
- Surround Sound Systems: For the full cinema feel, install a multi-speaker setup around your room.
- Bluetooth Speakers: Wireless options offer flexibility and reduce cable clutter.
Match speakers to your room’s size and acoustics for the best audio experience.
