
Preparing Your Video Files
Before you learn how to burn a DVD, you need to prepare your video files. This is a crucial step in ensuring the quality of your final DVD product. Here are the key points to consider when preparing your video files:
- File Format: Check the video file format. It should be compatible with your DVD burning software. Common formats include AVI, MP4, and MOV.
- Video Quality: Ensure the video is of high quality. High-definition videos will result in better DVD playback. However, keep in mind that higher quality videos will take up more space on the DVD.
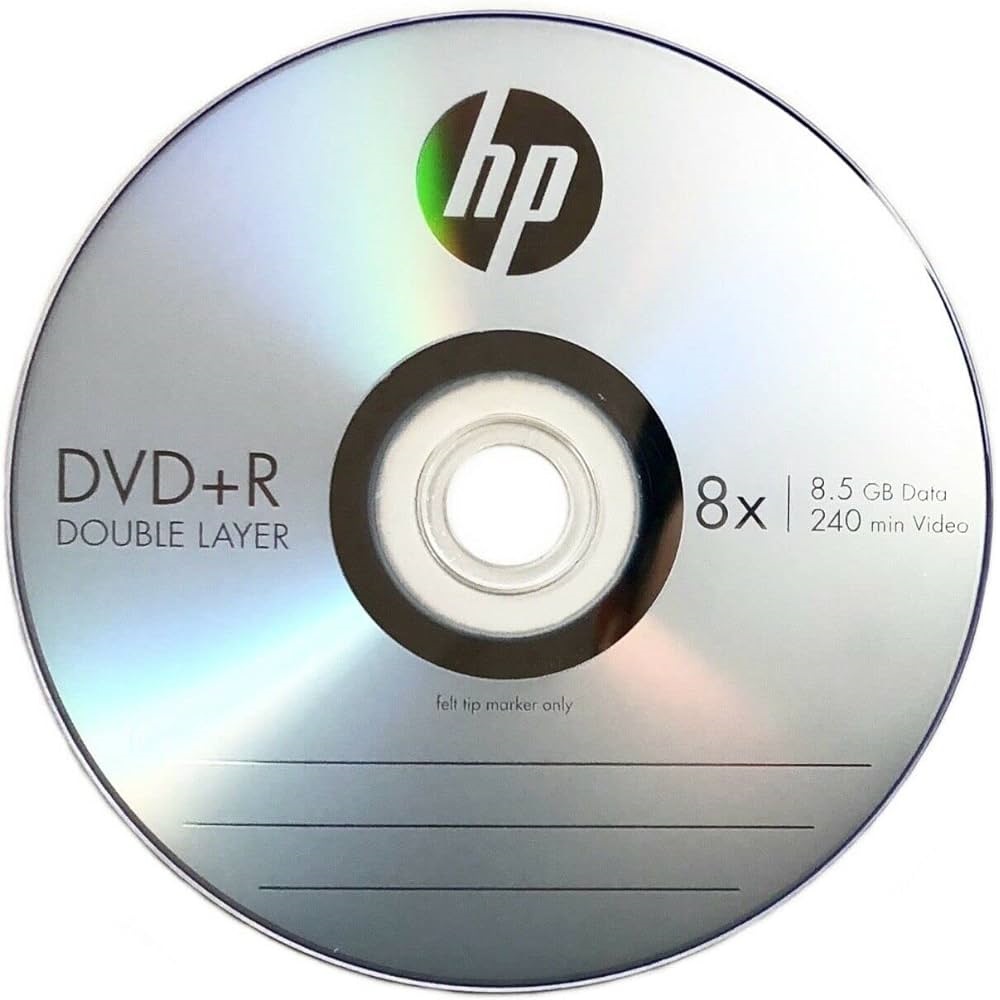
- File Size: Consider the size of your video files. Standard DVDs have a capacity of 4.7 GB. If your files are larger, you may need to compress them or use a dual-layer DVD with a capacity of 8.5 GB.
- Editing: Edit your videos if needed. Cut out any unwanted parts, adjust the brightness and contrast, and add any special effects or transitions.
- Audio Sync: Make sure the audio is in sync with the video. This will avoid issues like the sound being ahead or behind the video during playback.
Once your video files are properly prepared, you’re ready to move on to the next step, which involves choosing the right DVD burning software to ensure a smooth burning process.
Choosing the Right DVD Burning Software
Selecting suitable DVD burning software is essential when learning how to burn a DVD. With various options available, here’s how you can make the right choice:
- Compatibility: Ensure the software supports the video file formats you have. It’s crucial the program works with AVI, MP4, and MOV files, among others.
- Features: Look for software that offers a range of features. This includes menu creation, editing tools, and the ability to handle different DVD types.
- Ease of Use: Opt for user-friendly software. A simple interface will help you complete the DVD burning process without hassle.
- Speed and Efficiency: Review the speed of the software. A good program burns DVDs quickly and without errors.
- Price: Consider the cost. Free software might meet basic needs. However, paid versions often offer more advanced features.
- Reviews and Recommendations: Check online reviews. User experiences can guide you to reliable and efficient software.
- Customer Support: Check if the software offers customer support. Good support can solve potential issues during the DVD burning process.
Choose wisely to ensure a smooth DVD burning experience with high-quality results.
Necessary Equipment for DVD Burning
Before diving into the steps of ‘how to burn a DVD’, you need the right tools. Ensuring you have the necessary equipment is critical to a successful burning process. Here’s a list of what you’ll need:
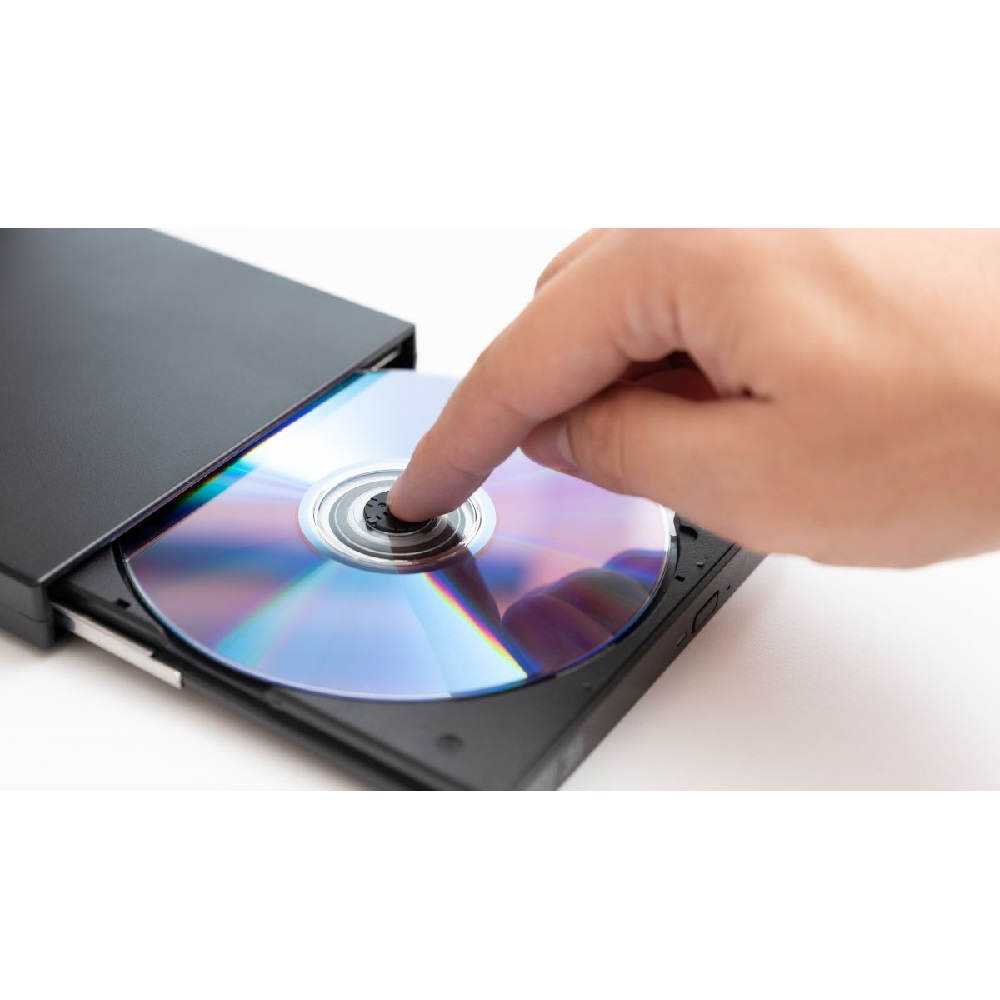
- DVD Burner: This is a must-have. Your computer needs a built-in DVD burner or an external one.
- Blank DVDs: Stock up on blank DVDs. Get DVD-R or DVD+R, depending on your burner’s compatibility.
- Computer with Sufficient Space: Make sure your computer has enough hard drive space. You need it for video file storage before burning.
- Stable Software: You’ve chosen the right software. Now, ensure it’s installed correctly for a smooth operation.
- Video Files: Have your edited and sync-checked video files ready to convert and burn.
- A Clean Work Environment: Keep the area free of dust. Dust can affect the burning quality and damage the DVD.
- Internet Connection: This is optional but helpful. Use it for software updates and troubleshooting.
With the right equipment in hand, you are set to proceed with installing your chosen DVD burning software.
Step 1: Installing DVD Burning Software
After selecting the right DVD burning software, it’s time to install it on your computer. Follow these straightforward steps:
- Download the Software: Visit the official website of your chosen DVD burning software. Hit the download button.
- Run the Installer: Once the download finishes, locate the installer file. Double-click to open it. Follow on-screen prompts.
- Accept the Terms: Read the terms and conditions. If you agree, click ‘I accept’ or similar to proceed.
- Select the Destination Folder: Choose where you wish to install the software on your hard drive. Click ‘Next’.
- Customize Settings: If the option is available, customize settings to your preference. This could include file associations or shortcuts.
- Install: Click the ‘Install’ button. Wait as your computer installs the software.
- Finish Setup: When the installation is complete, you may need to restart your computer. After that, launch the software to ensure it works correctly.
Take your time during installation to avoid errors. If you hit a snag, consult the software’s help section or reach out to customer support if available. Having your DVD burning software properly installed is the foundation for a successful DVD creation.
Step 2: Converting Video Files to a DVD-Compatible Format
Converting your video files is essential for DVD compatibility. Here’s how you can do it:
- Open Your DVD Burning Software: Launch the program you installed.
- Import Video Files: Use the ‘import’ or ‘add video’ function to select your prepared videos.
- Choose a DVD-Compatible Format: Most software offers a list of formats. Select one compatible with standard DVD players, like MPEG-2.
- Set the Conversion Quality: Decide on the quality of the video. Remember, higher quality takes more space.
- Start the Conversion: Click the ‘convert’ or ‘start’ button to begin. A progress bar will show you the conversion status.
- Monitor the Process: Keep an eye on the conversion. Make sure there are no errors.
- Check the Results: Once done, review the converted files. Ensure the video and audio play correctly.
By converting videos to a DVD-compatible format, you maintain playback quality and ensure compatibility with DVD players. Do not rush the conversion process. This will help prevent issues and ensure the final product is of high quality.
Step 3: Creating a DVD Menu
Creating a DVD menu adds a professional touch to your project. This step involves designing how viewers navigate through the content. Here’s how you can create a DVD menu:
- Launch the DVD Authoring Feature: Open your DVD burning software and find the menu creation tool.
- Select a Template: Choose from pre-designed templates or create a custom menu. Think about the look and feel you want.
- Customize the Menu: Add titles, chapter markers, and thumbnails for each video. Make sure it aligns with the overall theme of your DVD.
- Edit Text: Change the font, size, and color of the text to make it clear and readable. Ensure titles stand out.
- Add Background Music or Images: If your software allows, include background music or images. Keep them relevant and not distracting.
- Preview the Menu: Check how the menu looks and functions. Make sure all buttons and links work properly.
- Save and Finish: Once you’re happy with the menu, save your work. You’ll include this in the next step of the DVD burning process.
A well-designed DVD menu guides viewers and enhances their experience. Take your time to create a menu that is both functional and appealing. Remember, the menu is the first thing people will see, so make it count!
Step 4: Burning the Video to DVD
Now, you’re ready for the main event: burning your video to DVD. This process transforms digital files into a format readable by standard DVD players. Here’s how to accomplish this crucial step:
- Open DVD Burning Software: Start up the program you installed for DVD creation.
- Load Your Project: Bring up the project with the converted files and the DVD menu you crafted.
- Insert a Blank DVD: Place a blank DVD into your computer’s DVD burner. Choose DVD-R or DVD+R depending on what your burner accepts.
- Start Burning: Locate and click the ‘Burn’ button in your software. The burning process will begin.
- Set Burning Speed: Pick a low burning speed to reduce errors. Slow and steady wins the race.
- Monitor the Burn: Keep an eye on your computer. Watch for any error messages.
- Wait for Completion: The software will notify you once the DVD is burned. This might take some time.
- Eject the DVD: Your software will likely eject the DVD automatically. If not, do it manually.
- Label Your DVD: Use a permanent marker to label the DVD. Write the title and the date on it.
Burning your video to DVD is the step that brings your project to life. Follow these steps to get a clean, error-free burn. If issues pop up, don’t worry. Check the software’s help tools or reach out to support lines if you need them.
Finalizing and Testing Your DVD
After the burning process completes, the last key steps are finalizing and testing your DVD. These ensure that your DVD will play properly in DVD players. Here’s what you need to do:
- Finalize the DVD: Your burning software should prompt you to finalize the DVD. This step is crucial because it closes the session and makes your DVD compatible with other devices. Click ‘finalize’ to complete this process.
- Test the DVD: Insert the DVD into a DVD player. Make sure the player is not the same as your computer’s burner, if possible. This tests compatibility.
- Check Menu Functionality: Navigate through the DVD menu. Confirm all buttons and chapters work as intended.
- Watch the Videos: Play each video from start to finish. Look for any glitches or syncing issues with audio and video.
- Check Overall Quality: Evaluate the video and audio quality. Make sure it meets your expectations and is consistent throughout.
- Test on Different Players: If you can, try your DVD on various players. This includes different brands and types, like a console or a portable DVD player. It helps confirm wide compatibility.
- Make Adjustments if Needed: If you spot any issues, go back and adjust your project accordingly. You may need to reburn the DVD.
Finalizing and testing are your assurance steps for a professional outcome. They guarantee that your efforts in ‘how to burn a DVD’ culminate in a high-quality, enjoyable viewing experience. Always remember to test thoroughly to avoid any surprises during playback.

