Introduction to VHS and the Importance of Conversion
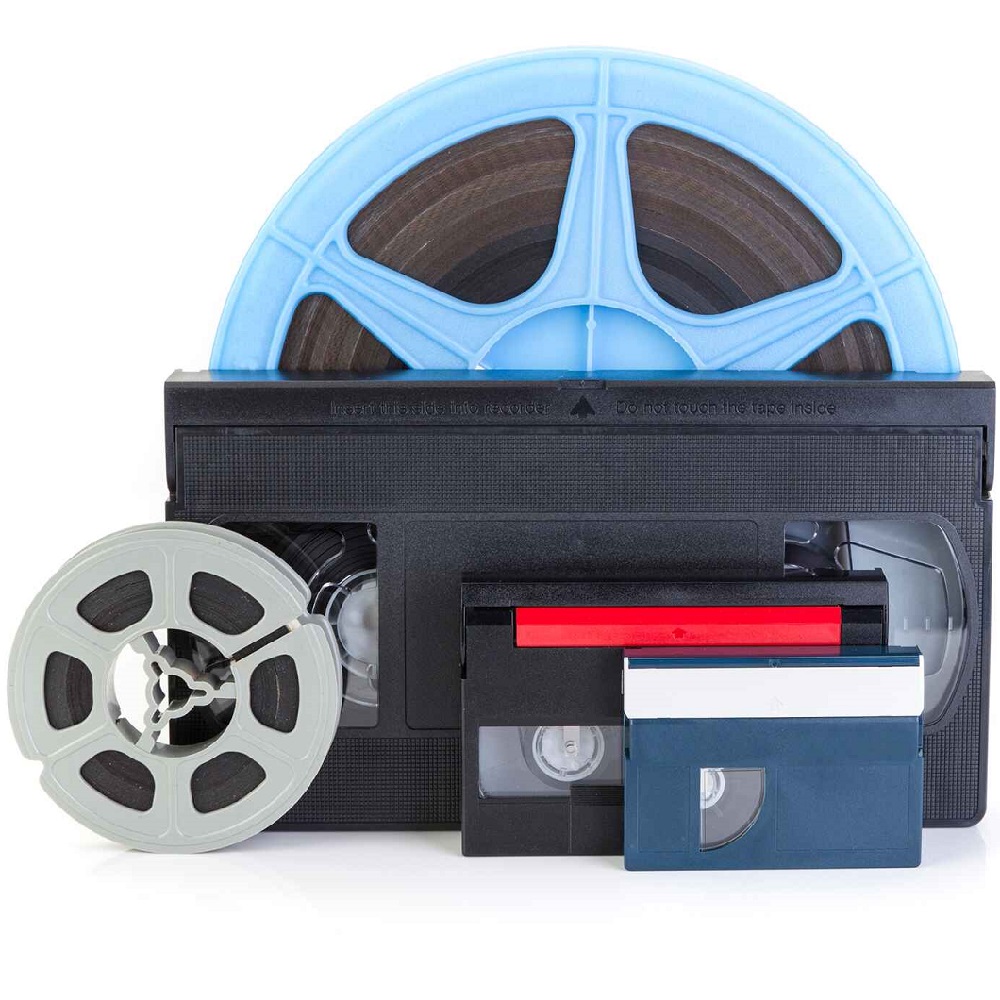
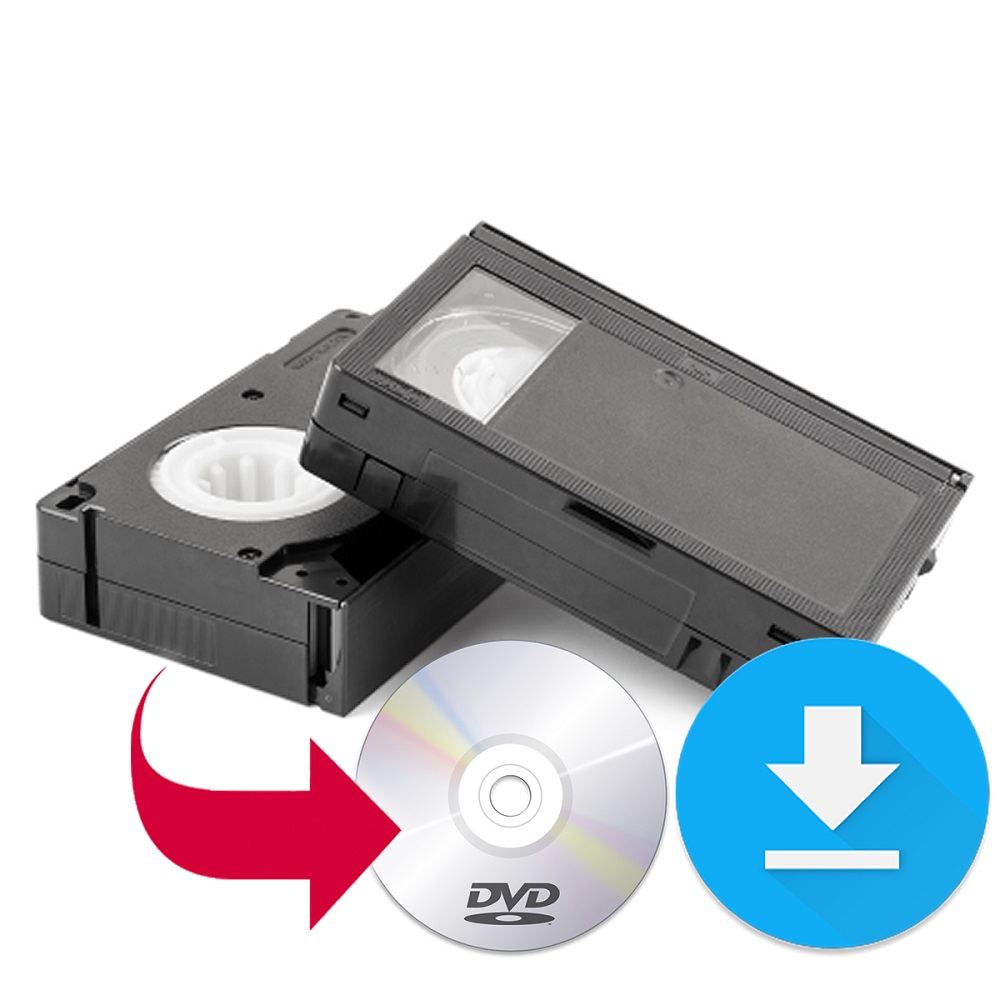
The era of VHS tapes was iconic, spanning the 1980s and 1990s. Families relied on them to capture precious moments, from birthdays to holidays. These cassettes now symbolize an age gone by. Yet, despite the deep nostalgia they evoke, VHS’s are fading relics in the digital world. Their physical nature degrades over time, risking the irreversible loss of personal histories. This is where the importance of conversion comes in. Converting VHS to DVD or digital formats is more than tech-savvy housekeeping; it’s a critical effort to rescue and revive memories. Conversion safeguards against the pitfalls of magnetic tape erosion and hardware obsolescence. It’s a meaningful step to ensure that the past remains accessible, shareable, and secure for the future.
And for those who wonder why not simply hold on to the old tapes? The reality is stark – players are scarce, and the tapes themselves are decaying. It’s not just about preserving our stories. It’s about embracing change and updating our media to contemporary standards. Converting VHS to DVD can be seen as a bridge between generations, bringing together old memories and the new ways we experience media today.
Therefore, understanding how to convert vhs to dvd is essential. It empowers us to protect our visual heritage and enjoy our collective history that would otherwise be locked away in obsolete formats. Converting your VHS tapes to DVD or digital files isn’t just about preservation; it’s about ensuring that the joy and warmth of yesteryears continue to live on.
Options for Converting VHS to DVD
For those with a collection of VHS tapes, converting them to DVD is a priority. There are various ways to go about this process, catering to different levels of technical expertise and budget constraints.
Retail VHS-to-DVD Conversion Services
Busy lives may not leave room for DIY projects. In this case, one can turn to retail conversion services. Big-name stores like Costco, CVS, Walmart, and Sam’s Club offer this through their photo departments. They usually partner with companies like YesVideo for conversions. Prices vary, but you can expect to start at around $30 for two hours of tape conversion. Be sure to check for any deals or lower prices at different retailers.
DIY VHS-to-DVD Conversion Using Combo Decks
If you prefer hands-on work or have a large number of tapes, DIY might work for you. A VHS-DVD combo deck is one option to explore, although they are becoming rare and expensive. If you already own a VCR, another route is a separate DVD burner. Set up requires connections via RCA or possibly HDMI cables. The rest involves playing the VHS tape and recording it onto a blank DVD, following specific instructions for your devices.
Transferring VHS to Digital Files for DVD or Blu-ray Burning
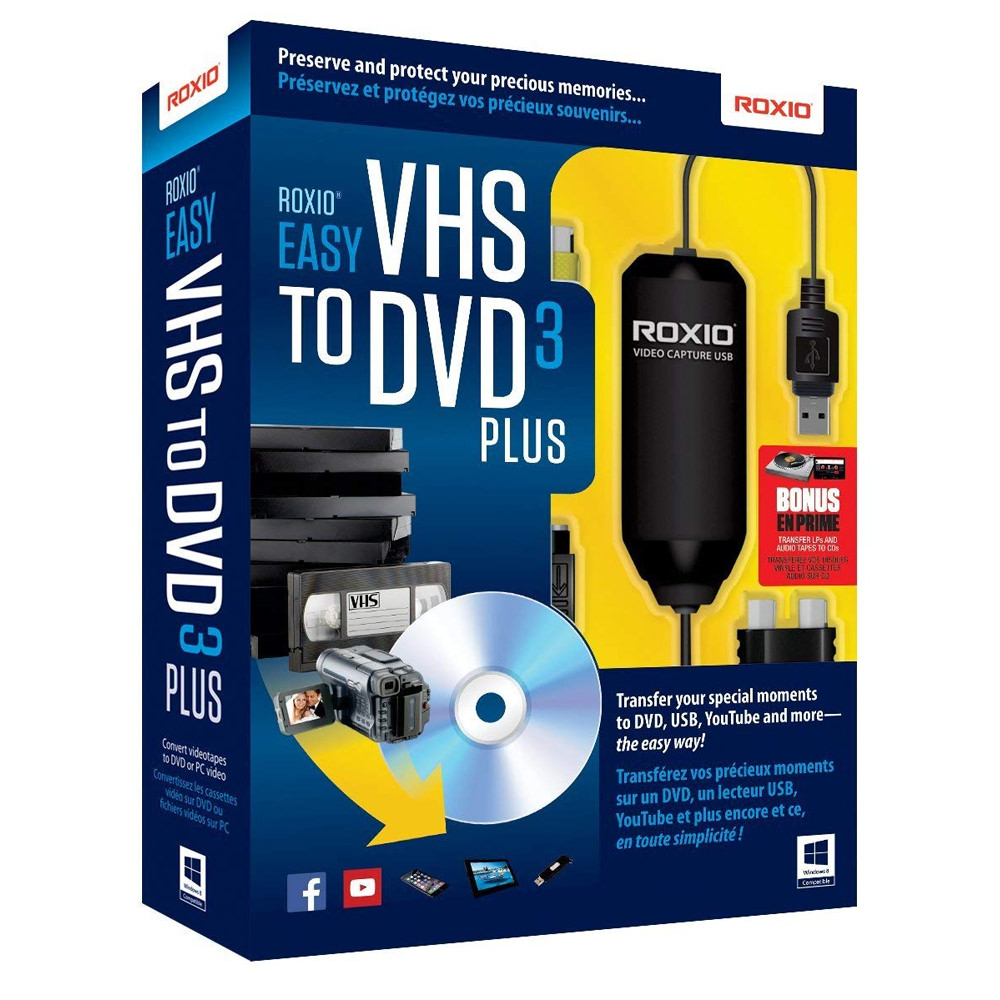
A more modern method involves converting VHS directly to digital files. This requires an analog-to-digital converter connected to a computer. The process is straight-forward with the help of provided software. This method allows for easy storage and further transfer to Blu-ray or DVD. While real-time conversion can be tedious, it results in a digital preservation of your memories. Consider direct digital converters as well, which use SD cards, if a computer-free approach suits you better.
When considering how to convert VHS to DVD, assess the time, cost, and effort you’re willing to invest. You can preserve your treasured memories whichever path you choose.
Step-by-Step Guide to DIY VHS Conversion
For those ready to take on the project, here’s a simple guide to doing it yourself.
Necessary Equipment for Home Conversion
To convert VHS tapes from your living room, you’ll need:
- A VHS player or camcorder.
- A DVD recorder or a computer with DVD burning capabilities.
- RCA audio/video cables or an RCA-to-HDMI converter.
- Blank DVDs to record onto.
- A VHS head cleaner to ensure clear playback.
Gather these items before you start. They are key to a successful transfer.
Connecting and Transferring with a VHS-DVD Combo
If you’re using a VHS-DVD combo:
- Connect the combo player to a power source.
- Insert the VHS tape and a blank DVD.
- Use the device’s menu to start the transfer process.
Remember to consult the user manual for specific instructions as they can vary.
Digitizing with an Analog-to-Digital Converter
For computer-based transfers:
- Connect the VHS player to the analog-to-digital converter using RCA cables.
- Connect the converter to your computer through a USB port.
- Play the VHS tape and use the supplied software to start the digitizing process.
This method, while longer, preserves videos in digital format for easy sharing and editing. Whether you’re using a combo unit or your computer, a clean, well-maintained setup is crucial. It ensures a smoother transfer and better quality for your DVDs. Stay tuned for tips on cleaning your gear and finalizing your DVDs for playback.
Tips for a Successful VHS to DVD Transfer
To ensure a smooth conversion of VHS to DVD, follow these tips:
Cleaning and Maintaining Your VHS and Equipment
Before converting your VHS tapes, it’s essential to clean them and your equipment properly. Dirty tapes and players can cause poor video quality or even damage the VHS tape.
- Begin by using a VHS head cleaner on your player to remove any dust or built-up grime.
- Handle your VHS tapes with care and inspect them for dust and dirt. If needed, gently clean the tape with a soft, lint-free cloth.
- Ensure all cables and converters are dust-free and securely connected.
Cleaning not only extends the life of your VCR and tapes but also provides a clearer transfer.
Understanding the Finalizing Process
After recording your VHS content onto a DVD, the final step is to finalize the disc.
- Finalizing makes your DVD playable in other DVD players. Without this step, the DVD may only work in the recording device.
- To finalize a DVD, access your DVD recorder’s menu and select the finalize option.
- Follow the on-screen instructions to complete the process.
Remember, once a DVD is finalized, you can’t add more content to it. So make sure your transfer is complete before you start this step.
By cleaning your VHS tapes and player, as well as understanding the finalizing process, you set the stage for a successful VHS to DVD transfer, preserving your memories with care.
Advanced Options for Converting VHS
Converting VHS tapes goes beyond the basic DVD transfer. Advanced options cater to varied needs and tech skills.
Handling Digital Videotapes Like miniDV and D-VHS
Digital formats like miniDV and D-VHS hold memories too. They differ from classic VHS tapes. These require special methods to ensure preservation. For these types, you’ll need a playback device, such as the camera that recorded them. Use a cable known as IEEE 1394, or FireWire, to connect the device to a computer. This cable transfers the digital content without quality loss. Remember, only the correct cable type will work.
Keep in mind, computers with the needed IEEE 1394 port are often older models. If your computer lacks this, explore using an IEEE 1394 PCIe card. Such cards are inexpensive and fit into newer PCs. Once connected, software like Handbrake can compress the transferred files effectively. This maintains quality while reducing file size. Finally, for DVDs or Blu-rays, uncompressed videos are best. This method ensures that your digital tape’s content is preserved in its original digital form.
Employing Direct Digital Converters
A less common, but effortless, option is direct digital converters. These devices convert VHS content directly onto an SD card. No computers are involved in this method. It is as easy as connecting the VHS player, inserting the SD card and starting the conversion. However, this convenience might require more. You may need extra cables and a larger SD card, about 64GB, for more extended footage. Once conversion is complete, play the SD card on any compatible device. This process is simple and suits those who prefer a straightforward approach.
Whether you’re dealing with old camcorder tapes or seeking simplicity, these advanced options can aid in preserving your cherished memories.
Preserving Video Quality During Conversion
When converting VHS to DVD, maintaining video quality is a priority. However, it’s important to recognize that the original quality of VHS content won’t magically improve through conversion. The goal is to preserve the existing quality as much as possible.
Expectations for Video Quality Post-Conversion
Post-conversion video quality is largely dependent on the original VHS. Expect the same level of quality—no improvements but no further loss either. VHS videos were recorded in the 3:4 ratio NTSC video. This might look grainy on modern 1080p or 4K TVs. Plan for this visual disparity and set expectation levels realistically.
Options for Upgrading to Blu-ray Format
For higher quality and longevity, consider Blu-ray. The process is similar, but Blu-ray provides better resolution and storage. This requires a Blu-ray burner and appropriate software. Transferring to Blu-ray keeps memories safe on a sturdy, high-definition medium.
In the process of transferring VHS to modern formats, remember that the quality you start with is the quality you end with. Converting your treasured VHS tapes to DVD or Blu-ray is a great way to ensure that your memories can be enjoyed for more generations to come. The key is to preserve the original quality as best as possible while upgrading the medium to something more durable and current.
Final Thoughts on the Legacy of VHS and Digital Preservation
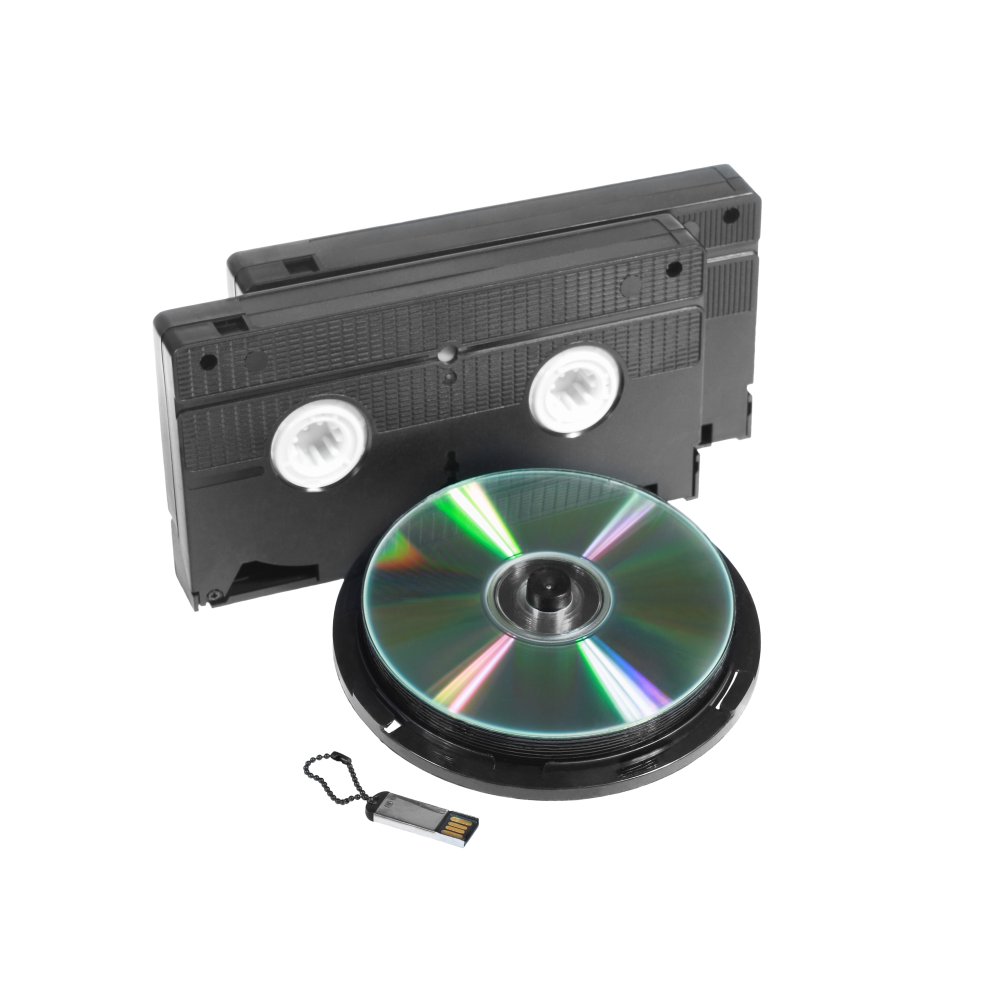
The journey from VHS to DVD is not just a tech upgrade. It’s a commitment to saving cherished moments that might otherwise fade into obscurity. As VHS tapes collect dust, their content risks being lost due to the fragile nature of magnetic tape. Converting them to DVD protects these memories from time’s wear and tear.
The legacy of VHS is a testament to the rapid pace of technology. What was once cutting-edge is now obsolete. Yet, the emotional value of the content captured on these tapes is timeless. By converting to DVD or digital formats, we ensure that future generations can share in the warmth of past experiences.
Digital preservation offers a practical solution to the limitations of physical media. Files stored digitally are easier to share, replicate, and safeguard from physical damage. With DVDs, the cloud, or other storage devices, our digital keepsakes can potentially last an eternity. They become a touchstone for our personal history, accessible with a click.
Converting VHS to DVD or digital forms is more than a practical task—it’s an act of preservation that honors the past. It embraces technological progress while safeguarding our personal histories. Let’s make sure the legacy of VHS lives on, not just in our hearts and minds but in modern, durable formats for generations to enjoy.
