Introduction to Solar Eclipses and Safe Viewing Practices
Solar eclipses are a fascinating celestial event that occurs when the moon passes between the sun and earth, casting a shadow on our planet. This spectacular event can be safely experienced using simple methods such as a box pinhole projector. Safety is paramount when it comes to viewing solar eclipses because looking directly at the sun can result in serious eye damage. Using a homemade projector is a safe and easy way to enjoy the eclipse without risking your vision.
A box pinhole projector works by allowing light from the sun to pass through a small hole and project an image onto a screen inside the box. You see the eclipse as a projection, which eliminates the risk of looking at the sun directly. In this blog, we will guide you through making your own box pinhole projector for a safe eclipse viewing experience. It’s a fun, educational, and safe way to observe an eclipse with materials you likely have at home.
Remember, during a solar eclipse, never look directly at the sun with your naked eyes or with standard sunglasses. Special eclipse glasses adhere to a worldwide safety standard and are equipped to protect your eyes. However, for a no-cost alternative, a box pinhole projector is a reliable and exciting option.
Required Materials for Making a Box Pinhole Projector
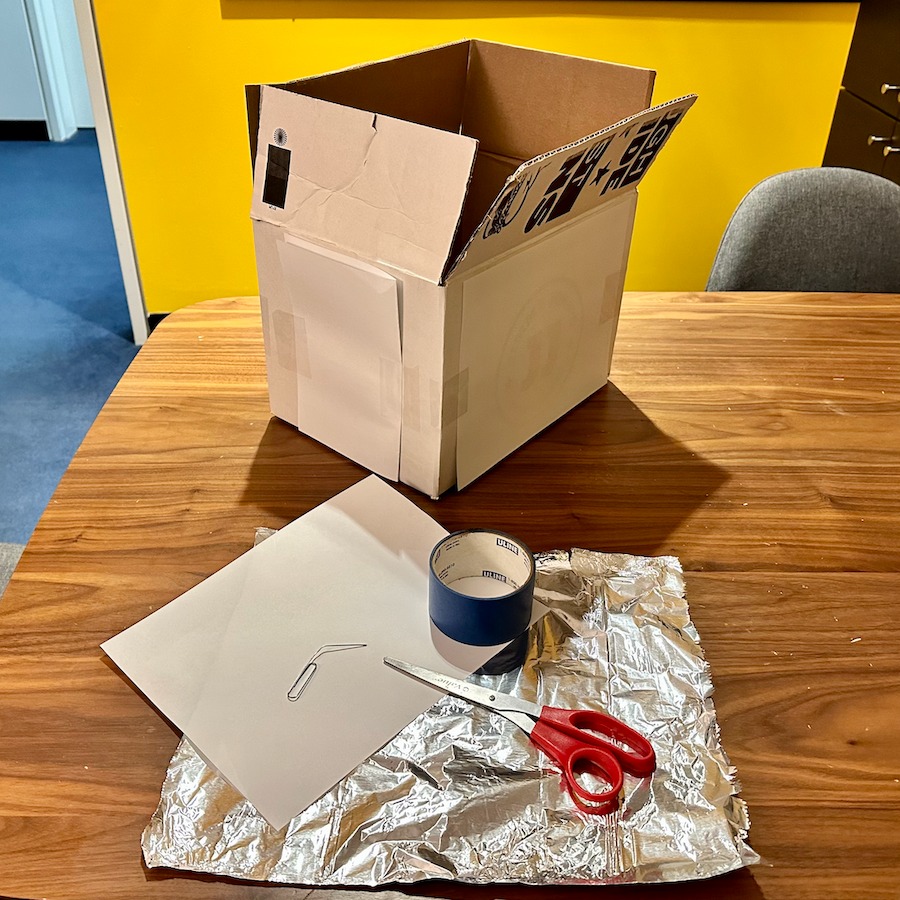
To create your own box pinhole projector, you need some basic items found around the house:
- A long box – The length of the box affects the size of the projected image. A longer box is better.
- Aluminum foil – A small piece larger than the box’s rectangular hole will work. Make sure it is smooth.
- Scissors – For cutting the foil and paper to the correct size.
- Pin – A simple pin for making the hole in the foil.
- Tape – Clear tape to secure the foil and projection paper in place.
- White paper – This acts as the screen where the image will be projected.
Ensure you have all these items ready before you start building your box pinhole projector. Each component plays an essential role in the success of your projector, allowing you to view solar eclipses safely and clearly.
Step-by-Step Guide to Constructing Your Pinhole Projector
Now that you have gathered all the necessary materials, it’s time to start constructing your box pinhole projector. Follow this simple step-by-step guide to create a functional projector to safely view solar eclipses.
Cutting the Rectangular Hole
Begin with the long box you have prepared. At one end of the box, cut a rectangular hole. Make this big enough to cover with the aluminum foil later on. The hole should be neat and even. If you need a bigger projection, attach two boxes to increase the length.
Preparing the Aluminum Foil
Next, take the aluminum foil and cut a piece slightly larger than the hole. It’s important that the foil is smooth and without creases. Gently smooth out any wrinkles as these can distort the projected image.
Creating the Pinhole
Then, place the foil over the rectangular hole from the outside and tape it securely. Use a pin to make a tiny hole in the middle of the foil. This hole should be small and round, as the quality of the projected image depends on it.
Placing the Projection Paper
Finally, inside the other end of the box, tape a piece of white paper. This paper will serve as the screen where you will see the eclipsed Sun projected. Position it directly opposite the pinhole and make sure it’s flat and securely in place.
In the next sections, we’ll cover how to use your newly constructed box pinhole projector and alternative methods for making a pinhole projector using a tube.
How to Use Your Box Pinhole Projector
Once you’ve assembled your box pinhole projector, it’s time to learn how to use it properly. Here’s a simple guide to get you started:
- Stand with Your Back Towards the Sun: Position yourself so that the sun is behind you. This is a safety measure to avoid direct eye contact with the sun.
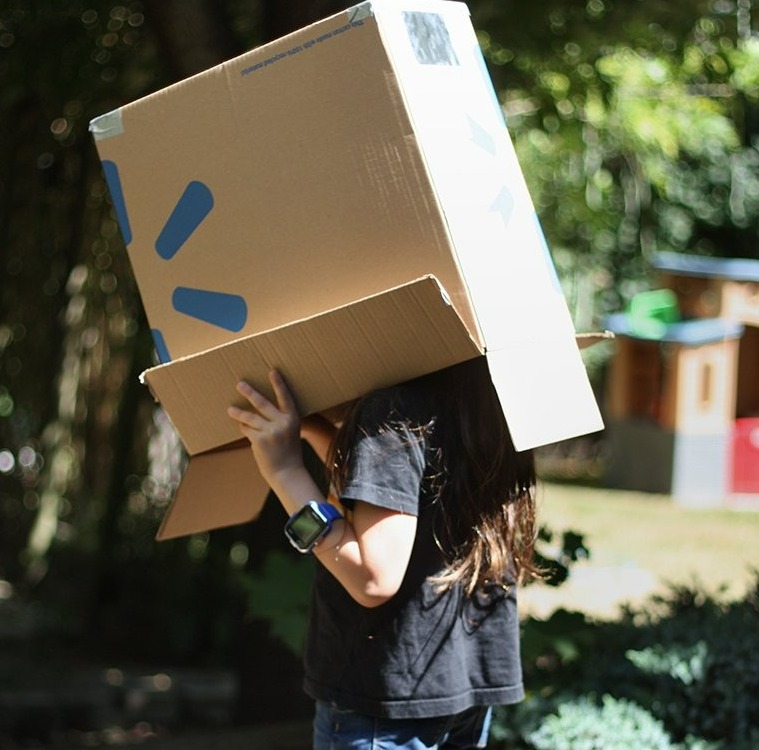
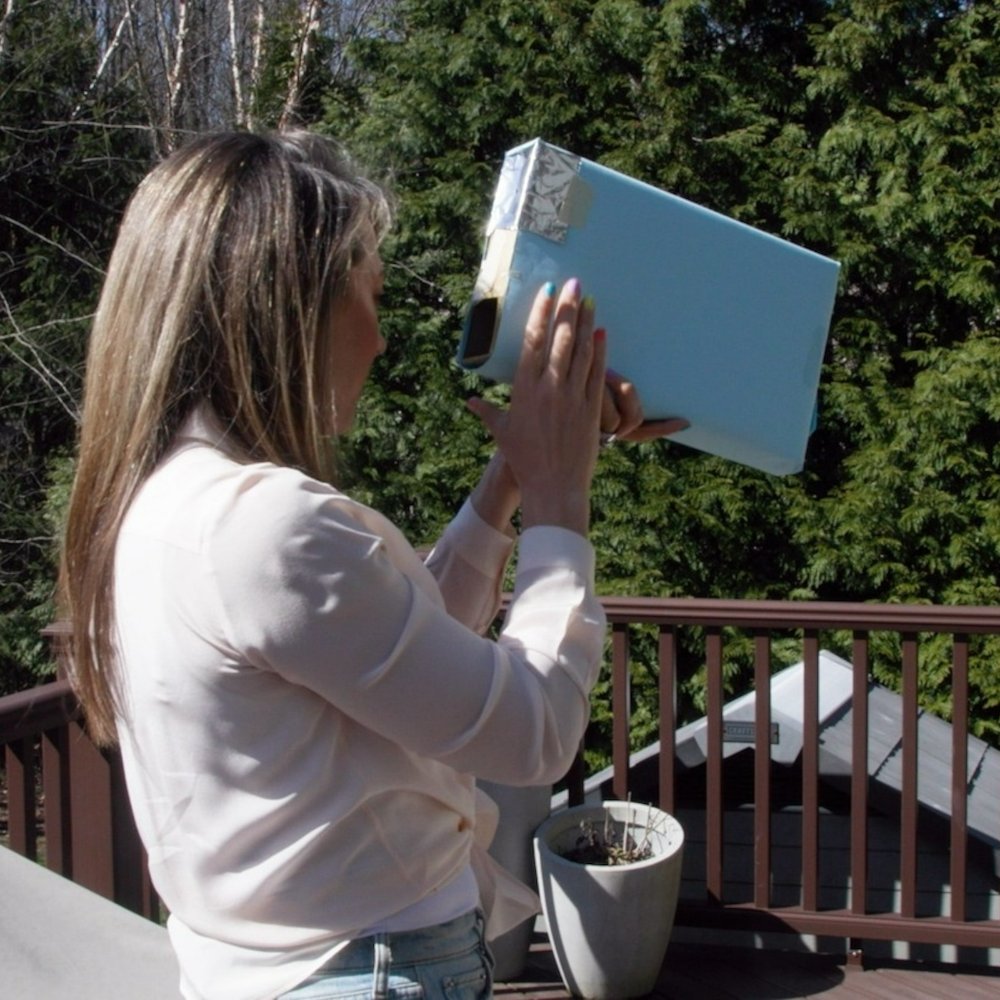
- Place the Box Over Your Head: Hold the projector over your head, ensuring the pinhole end is facing the sun. Your head should block any direct sunlight from entering the box.
- Adjust the Projector’s Position: Move the box up or down, left or right, until you see a small projection of the sun on the white paper inside the box. The image will be a reversed version of what is occurring in the sky.
- Focus the Image: You might need to slightly tilt or turn the box to get a clearer projection. The distance between the pinhole and the paper can also affect focus, so adjust the box length if possible.
- View Safely: Look at the paper screen inside the box to observe the solar eclipse. Do not peek outside the box or try to look at the sun through the pinhole.
Using your box pinhole projector is safe and easy. It allows you to observe a remarkable phenomenon without any risk to your eyes. Remember, never try to view the solar eclipse by looking directly at the sun without proper eye protection.
Alternative Method: Using a Tube for the Pinhole Projector
If you don’t have a box handy, a tube can work as a great alternative for making a pinhole projector. Here’s how to turn a tube into a safe solar eclipse viewing device:
- Select a Tube: A long tube, like a rolled-up piece of thick paper or a shipping tube, is ideal.
- Cut the Ends: Trim one end of the tube so that it’s open. Attach aluminum foil securely over this end.
- Poke the Pinhole: With a pin, create a small, neat hole in the center of the foil.
- Prepare the Screen: On the other end of the tube, tape a piece of white paper to act as the projection screen.
- Make a Viewing Window: Cut a rectangular viewing window near the screen end, so you can see the projected image without any direct sunlight.
- Use It Safely: With your back to the Sun, point the foil end towards it. Peer through the viewing window to see the solar eclipse on the paper screen. Move and tilt the tube as needed to focus the image.
Using a tube pinhole projector can be a handy and compact alternative to the box version, and it’s just as effective for safely enjoying a solar eclipse. Just remember to never look directly at the Sun through the pinhole or the viewing window.
Tips for a Clearer Projection
Achieving a sharp and clear projection when viewing a solar eclipse is crucial for a complete experience. Here are several tips to help you fine-tune your box pinhole projector for the best clarity:
- Ensure a Perfect Pinhole: The pinhole must be as round and smooth as possible. If the hole is irregular or jagged, it can distort the image. Use a fine, sharp pin and don’t wiggle it.
- Use High-Quality Foil: Opt for thick, durable aluminum foil. This prevents wrinkles and tears, giving you a smoother surface for a clearer pinhole.
- Stabilize Your Projector: Any movement can blur the projection. Place your projector on a stable surface or hold it steadily with both hands.
- Adjust the Distance: You may need to experiment with the distance between the pinhole and projection paper. Closer together makes a sharper but smaller image, while further apart gives you a larger but softer image.
- Choose the Right Box Length: A longer box can result in a larger projection of the eclipse. If the box is too short, you might get a dim or tiny projection. Consider attaching two boxes for a bigger image.
- Dim Surrounding Light: Using the projector in a shaded area can increase contrast. Avoid direct sunlight around your viewing area.
- Regular Checks: Periodically inspect the pinhole and paper for any damage or blockages. Small bits of dirt or damage can affect the image quality.
By following these tips, you’ll increase your chances of getting a crisp projection of the solar eclipse, enhancing your viewing pleasure. Just keep safety in mind at all times and enjoy the celestial show with your custom-made box pinhole projector.
Safety Reminders for Viewing Solar Eclipses
When viewing solar eclipses, safety should always come first. A box pinhole projector provides a secure way to enjoy this celestial event without risking eye damage. Here are some safety tips to keep in mind:
- Never Look Directly at the Sun: Even during an eclipse, looking directly at the sun can cause severe eye injuries.
- Use Proper Materials: Ensure your pinhole projector is made with the correct materials and follows the guide provided.
- Back to the Sun: Always have your back facing the sun when using the projector to avoid accidental exposure.
- Supervision for Children: Children should use the box pinhole projector under adult supervision to ensure they use it correctly and safely.
- Regular Breaks: Take breaks if observing the eclipse for extended periods to rest your eyes and avoid neck strain.
- Avoid Glasses and Binoculars: Do not use glasses, binoculars, or cameras to look at the sun through the pinhole, as they can concentrate the sun’s rays and cause injury.
- Check for Damage: Before using the projector, inspect it for any damage, especially to the pinhole and projection paper.
By following these guidelines, you can safely experience the wonder of a solar eclipse. Remember, protecting your vision is critical, and with a box pinhole projector, you can enjoy the phenomenon worry-free.
