Maintaining the quality of your DVDs can extend their lifespan and ensure that you enjoy your favorite movies or games without interruption. Over time, DVDs can become dirty, scratched, or smudged. Cleaning them effectively is essential. This guide will walk you through the steps to properly clean your DVDs to keep them in the best possible condition.
Understanding DVD Characteristics
What is a DVD?
A Digital Versatile Disc (DVD) is a type of optical disc storage format. DVDs can hold massive amounts of data, including movies, software, and games. They often have a reflective surface, making them sensitive to scratches and smudges. Understanding this is vital for cleaning them without causing additional damage.

Why Clean DVDs?
Dust, fingerprints, and scratches can hamper a DVD’s ability to play properly. Dirt may result in skipping scenes or even the inability to read the disc at all. Regular cleaning can prevent these issues. It also ensures that you maintain a good viewing experience, especially for high-definition content. Remember, prevention is better than cure. Keeping your DVDs clean will save you from potential headaches down the line.
How to Assess the Condition of Your DVD
Visual Inspection
Before you start cleaning, take a moment to inspect your DVD closely. Look for obvious signs of dirt, smudges, or scratches. Hold the disc up to a light source; this may help you see scratches better. If you notice any rough spots, be cautious, as aggressive cleaning methods may cause further damage. Take note of where the serious scratches are, as this will help you decide how to proceed. Always treat the discs with care.
Functional Testing
If the DVD has been previously used, try playing it. This can help you determine areas that are problematic. A disc that skips can often be cleaned and made playable again. However, if the disc is still not working after cleaning, it may have deeper scratches or damage. Remember that not all issues can be solved with cleaning. In some cases, professional repair may be necessary.
Basic Cleaning Supplies You’ll Need
Gather Your Materials
Before diving into the cleaning process, gather some basic supplies. You do not need anything expensive or complex. Most of what you need can be found in your home or easily purchased.
- Microfiber Cloth: A clean, soft microfiber cloth is essential. It won’t leave lint or scratch the surface. Avoid paper towels or rough fabrics, as they can cause damage.
- Cleaning Solution: Water works great for light cleaning. For tougher grime, consider a solution of isopropyl alcohol mixed with water. Use a 50/50 ratio, as higher concentrations can damage the DVD.
- Cotton Swabs: These are handy for cleaning around the edges and getting into any tiny grooves. Choose soft, cotton swabs to prevent scratching the surface.
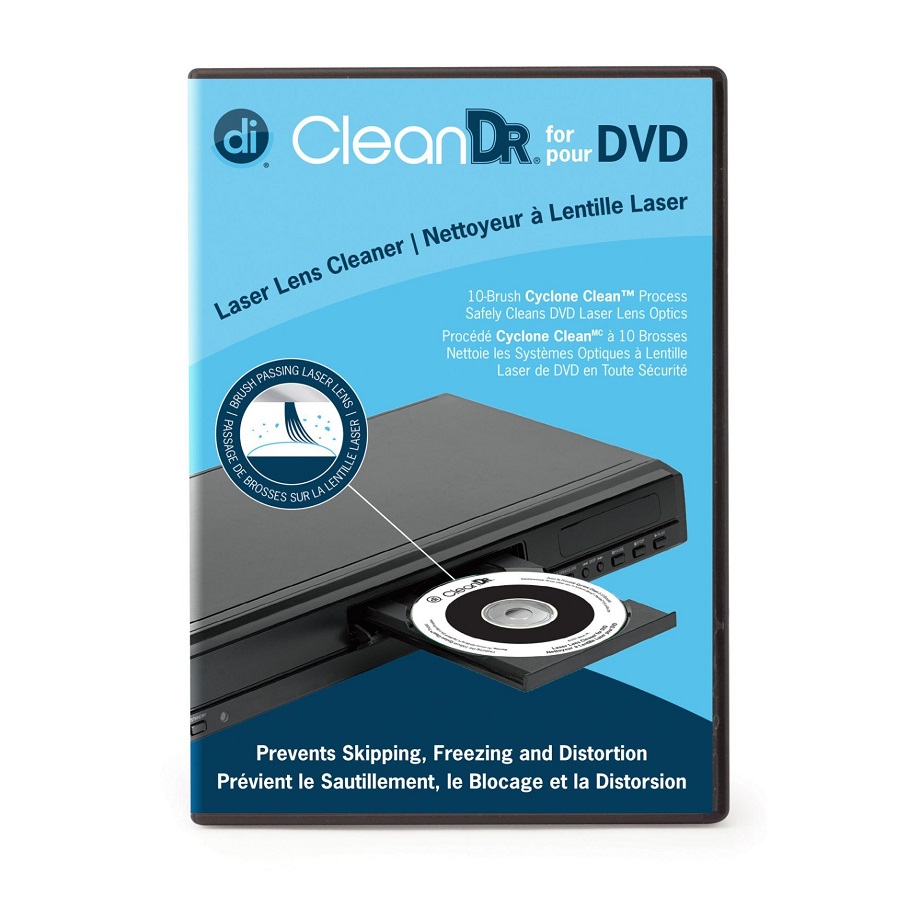
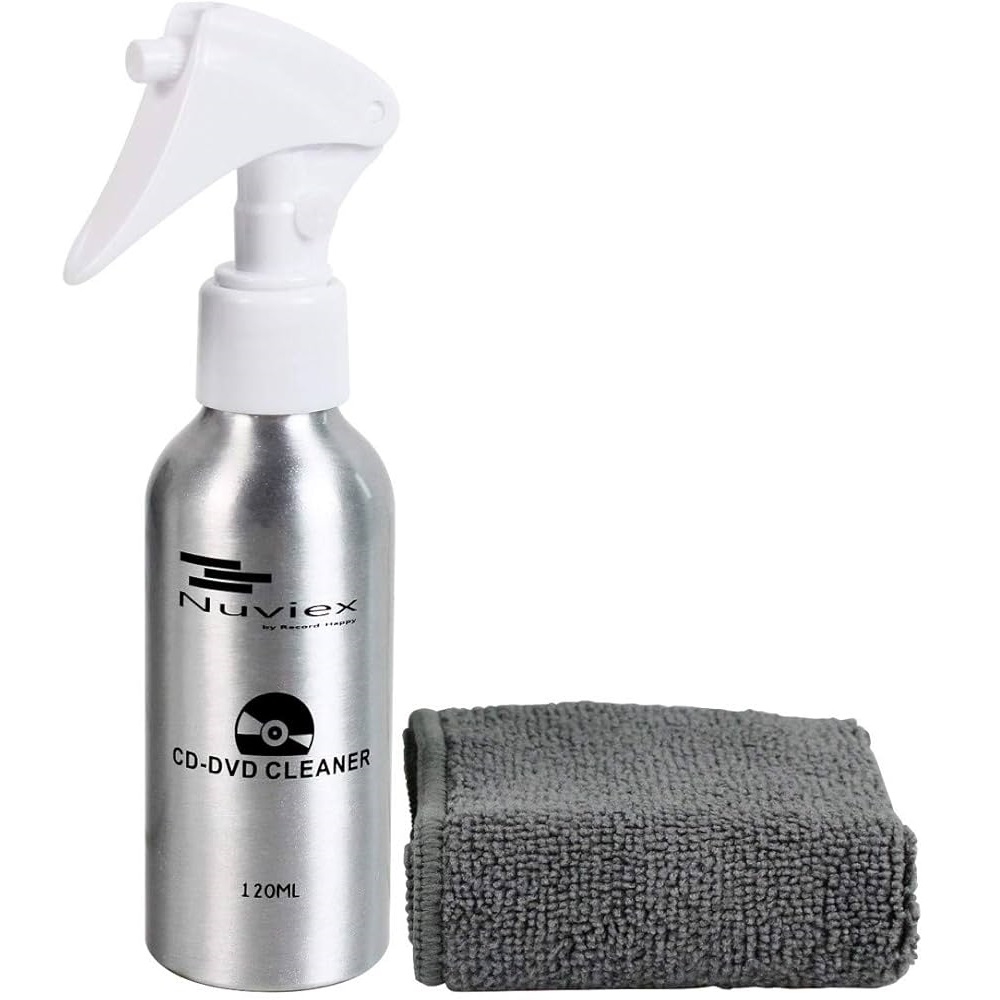
- Specialized DVD Cleaner: If you’d rather not make your own solution, specialized cleaning kits are available. These often come with their own cloths and solutions designed specifically for optical discs.
Preparing Your Workspace
Find a flat, clean surface where you can work without distractions. It’s best to use a table or countertop that is free from dust and debris. Make sure the area is well-lit so you can see the DVD clearly. Gather all your materials beforehand. This will make the cleaning process more efficient and keep you organized.

Step-by-Step Cleaning Process
Initial Rinse
If your DVD has visible dust or dirt, it’s a good idea to start with a rinse. Hold the disc under warm running water for a few seconds. Avoid using hot water; it may warp the disc. Don’t apply soap or detergent. Plain water will work best for initial cleaning.
Wiping the Disc
Using your microfiber cloth, gently wipe the disc. Always wipe from the center outward. This method reduces the risk of scratching. Never wipe in a circular motion, as that can scratch the disc. If dirt remains, dampen the cloth with your cleaning solution and repeat the process. Ensure that the cloth is not soaking wet but slightly damp.
Dealing with Stubborn Smudges
For tougher smudges, use a soft cotton swab dipped in your cleaning solution. This is especially useful for fingerprints or oils that won’t come off easily. Gently rub the affected area, again moving from the center outwards. Don’t apply too much pressure; just let the cotton do the work.
Drying the DVD
After cleaning, it’s important to dry the DVD properly. Use a separate dry microfiber cloth. Again, wipe from the center outward. Allow the disc to air dry for about 10 minutes before testing it in your player. This ensures any remaining moisture evaporates. Checking for remaining smudges before inserting the DVD back into a player is crucial.
Tips for Preventing DVD Damage
Proper Storage Techniques
How you store your DVDs can greatly affect their condition. Avoid leaving them stacked or in a hot car. Instead, store them upright in a case or DVD holder. This keeps them safe from scratches. Direct sunlight can also cause warping or fading, so it’s best to keep them in a cool, dry place.
Regular Cleaning Routine
Establish a regular cleaning routine. Depending on usage, consider cleaning your DVDs every few months. Regular maintenance will prevent dirt build-up and prolong the life of the disc. If you notice any issues while playing, address them immediately by cleaning the disc. This proactive approach saves you from dealing with complications later on.
Advanced Cleaning Methods
Using a Spin Cleaner
If you’re dealing with multiple DVDs that need cleaning, consider investing in a spin cleaner. These machines provide a deeper clean and can handle multiple discs at once. However, take care to read the manufacturer’s instructions. Not all spin cleaners are suitable for all types of discs.
Professional Cleaning Services
If your DVDs are significantly scratched or damaged, you may consider professional cleaning services. Some shops provide disc resurfacing. This process helps remove scratches and restore the disc’s playable surface. While it’s an added cost, it can save you from having to replace your favorite DVDs.
Troubleshooting Common DVD Issues
Skipping Issues
If the DVD continues to skip after cleaning, check for deeper scratches. A single scratch may also cause issues, especially if it runs in the data track. Refer to professional help if your DIY efforts don’t yield better results.
Disc Not Reading
Sometimes a disc may not read at all. If cleaning does not help, inspect the DVD for warps. Warping can result from heat. Unfortunately, warped discs often become unplayable and may need replacement.
Error Messages
Modern DVD players provide error messages when they cannot read a disc. If you see this message, cleaning the DVD is the first step. If the error persists, it may indicate that the player is itself having issues. Consider testing other discs in the player as a comparison.
Conclusion and Final Thoughts
Maintaining your DVDs doesn’t have to be a daunting task. With the right materials and techniques, you can have clean discs that play beautifully. Always approach cleaning with a gentle touch to avoid further damage. Following these steps can help you enjoy your DVDs for years to come.
By properly cleaning and maintaining your DVDs, you’re not just preserving memories but also ensuring the best viewing experiences. Happy cleaning!