VHS tapes hold a treasure trove of memories, from family gatherings to memorable events. However, time has not been kind to this format. Many people want to convert their cherished VHS tapes into DVD format to preserve these moments for the future. This article will walk you through the entire process of converting VHS to DVD in a simple and effective way.
Understanding the Importance of Conversion
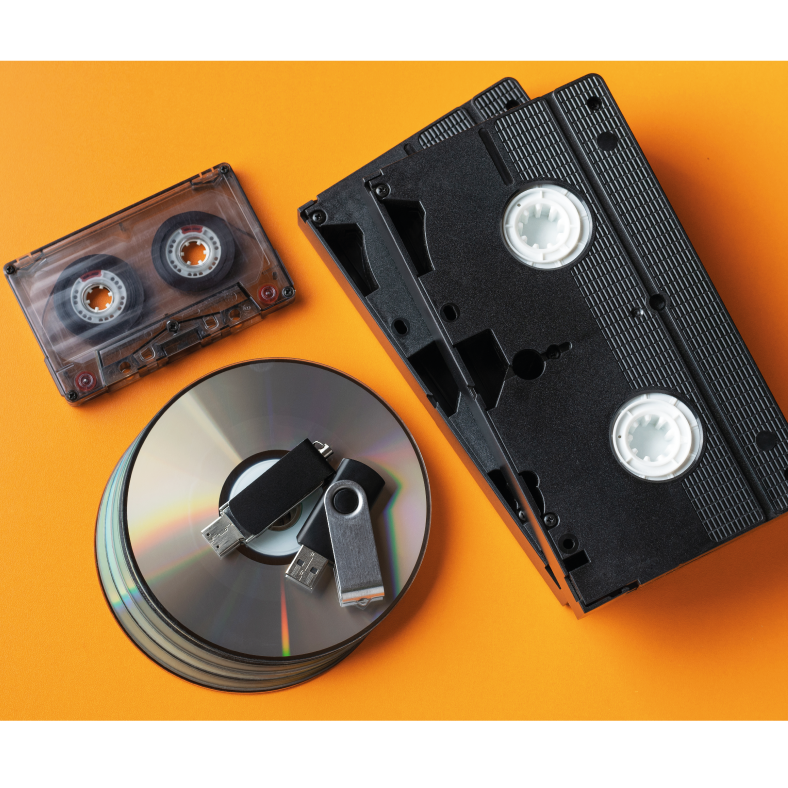
The Decline of VHS
VHS tapes became popular in the late 20th century for recording and watching videos at home. However, technology has changed. People now prefer digital formats like DVDs and Blu-rays. VHS tapes can deteriorate over time, leading to loss of quality. If you’ve ever watched an aging VHS tape, you’ve likely noticed the distortion and loss of clarity. The colors may fade, and sound can become muffled.
Benefits of Converting to DVD
Converting your videos to DVD has several benefits. First, DVDs offer superior quality. They are less prone to degradation compared to VHS tapes. Second, DVDs are more compatible with modern devices. Most standard DVD players and computers can easily play DVDs. Third, converting to a DVD means you can create multiple copies to share with friends and family. This preservation is essential for maintaining personal history.
Gathering the Necessary Equipment
Essential Equipment for Conversion
Before diving into the conversion process, you need to gather the right equipment. It’s crucial to have everything ready to ensure the process goes smoothly. Here’s a list of what you will need:
- VHS Player: You’ll need a working VHS player. Ensure that it is in good condition to avoid any mechanical issues during playback.
- DVD Recorder: A standalone DVD recorder will do the job well. They are relatively easy to operate. Alternatively, you can use a computer with a DVD drive.
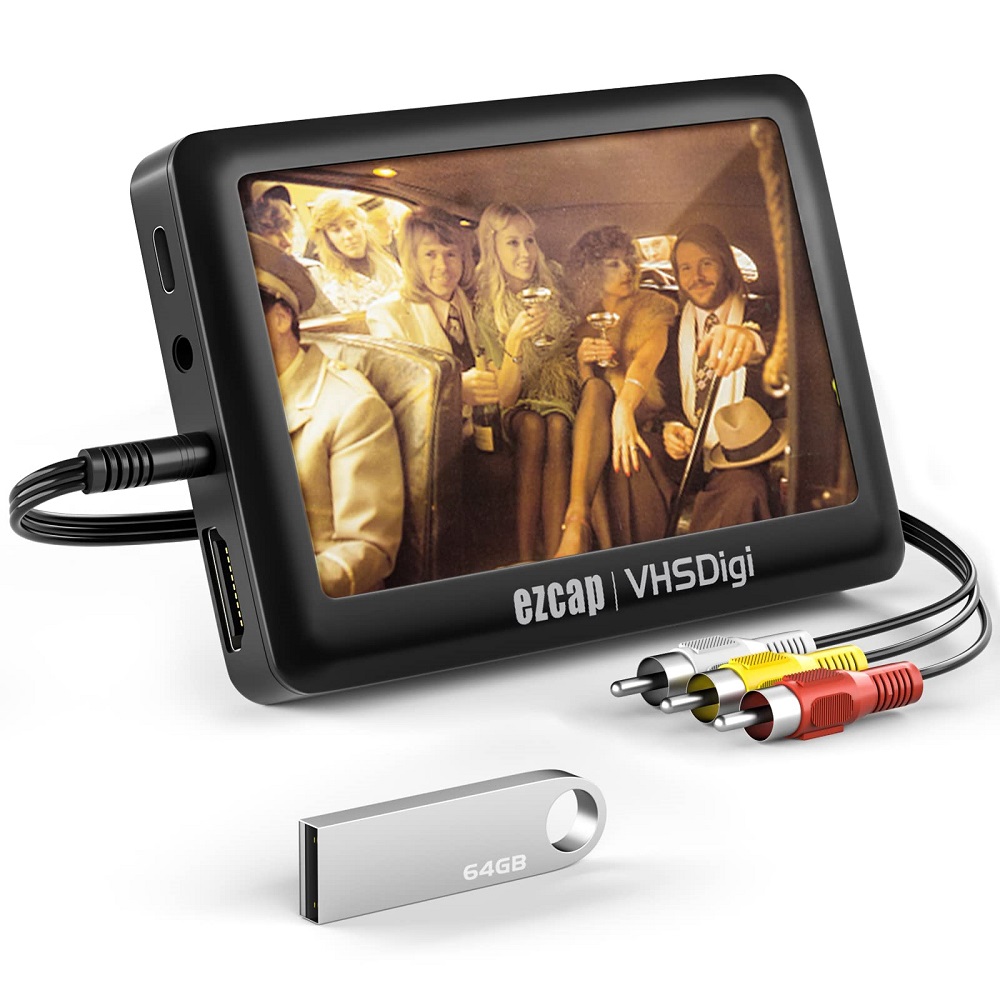
- Video Capture Device (for Computer Users): If you plan to use your computer, you might need a video capture device. This little gadget bridges the gap between your VHS player and computer.
- Recording Software: If you’re using a computer, download video recording software that is compatible with your video capture device. Popular options include OBS Studio or Windows Movie Maker.
- Blank DVDs: Invest in a quality brand of blank DVDs. Make sure they support the type of recording you want.
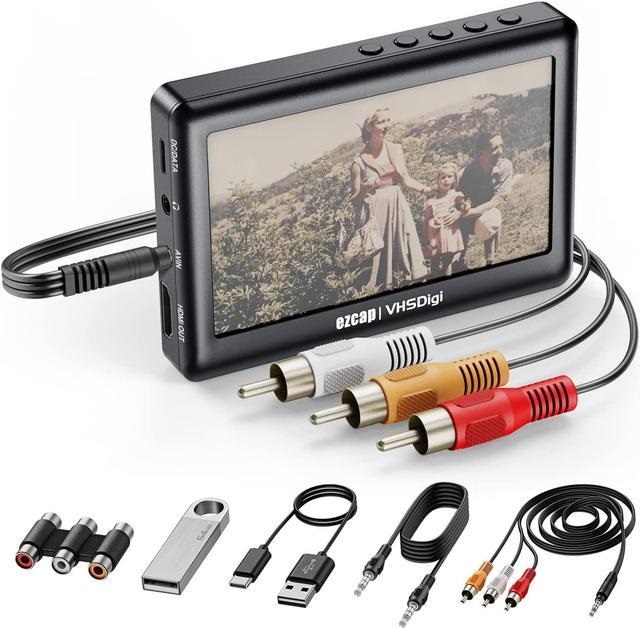
- Cables: You will need an RCA cable (red, white, and yellow). If you are using a video capture device, a USB cable will also be necessary.
Setting Up the Equipment
Once you have everything, it’s time to set it up. Start by connecting your VHS player to either the DVD recorder or your computer. If you’re using a DVD recorder, connect the RCA cables from the VHS player to the DVD recorder’s input ports. If you are using a computer, link the VHS player to the video capture device and then connect the capture device to your computer via USB.
After connecting the equipment, make sure to plug everything into a power source. It’s best to place the VHS player and DVD recorder or computer in a well-ventilated area. Overheating can cause equipment malfunction, so ensure air can circulate freely around them.
The Conversion Process
Preparing the VHS Tape
Now that your equipment is set up, it’s time to prepare your VHS tape. Make sure the tape is clean. You can gently wipe the outside with a soft, dry cloth. Listen to the tape as it plays for the first time in a long while. If there are any bumpy or damaged sections, take note of them. This can help you monitor where to pause or skip if necessary.
Recording the Content
With your tape prepared, insert it into the VHS player. Add a blank DVD into the DVD recorder or set up your recording software on the computer. If you are using a standalone DVD recorder, set it to the correct input channel. If you are using a computer and video capture device, open your recording software.
Start the VHS playback and simultaneously begin the recording on the recorder or software. This part requires your full attention. Make sure to watch for any potential interruptions. If you see or hear anything strange, it may indicate a problem with the VHS tape.
Finalizing the Recording
Once the VHS tape has finished playing, stop the recording. If using a DVD recorder, finalize the disc. This step is crucial. Finalizing ensures that the DVD is playable on standard DVD players. If you’re using a computer, save your video file in a format compatible with DVDs, like MPEG-2 or AVI. Always check the quality after the recording is done. It’s essential to ensure that the conversion has been done properly.
Editing the Converted Video
Why Edit the Video?
After converting your VHS tape, you might want to edit the video. Editing can help you remove unwanted sections, add transitions, or even improve the sound quality. A well-edited video can look more polished. Plus, it allows you to enhance your cherished memories.
Software for Editing
There are numerous video editing software options available. If you are using a computer, consider software like Adobe Premiere Pro or iMovie. These programs make editing easier, even for beginners. They offer a user-friendly interface and various features to improve your video.
Basic Editing Techniques
After opening the software with your newly converted video, start by reviewing the footage. Look for sections that you might want to cut. For example, long pauses or awkward moments can be eliminated to create a smoother flow. Simply use the cut or trim tool in your software to remove those parts.
Enhancing audio is also essential. If the sound seems unclear or low, use the audio adjustment tools within the software. Increase the volume and add background music if desired. Just make sure the music fits the theme of the video. After editing, export the video again to ensure all changes are saved.
Burning the Edited Video to DVD
Preparing for Burning
With your edited video ready, the next step is to burn it to a DVD. Ensure you have a blank DVD ready and your computer or DVD recorder. If using a computer, make sure your DVD burner is functioning well.
Using DVD Authoring Software
Individuals often overlook the importance of DVD authoring software when burning DVDs. This additional software allows you to create menus and chapters. Popular options include Windows DVD Maker and Nero.
Open your chosen DVD authoring software. Import your video file, and then set the menu style. A well-designed menu makes your DVD look professional. You can add titles, scenes, and even background music to create a more engaging experience.
Burning the DVD
Once the menu is set, insert your blank DVD into your computer’s DVD drive. Follow the software prompts to start the burning process. This process may take anywhere from a few minutes to an hour, depending on the size and quality of your video. Once complete, check the DVD to ensure it plays smoothly, and that all features, like menus and chapters, work as intended.
Storing and Protecting Your DVDs
Importance of Proper Storage
Once you’ve converted your VHS tapes to DVD, proper storage is crucial for longevity. DVDs are more durable than VHS tapes, but they are still sensitive to scratches and environmental conditions. Storing them correctly can help maintain their quality over time. Find a cool, dry place for storage; avoid locations that experience temperature fluctuations.
Recommended Storage Options
Consider investing in DVD cases for each DVD. These not only keep your DVD secure but also protect from dust. Place labels on each case to identify the content easily. If you have a large collection, organizing them alphabetically or by year can make it easier to find what you need.
Backing Up Digital Copies
In today’s digital world, it is also wise to keep digital copies of your DVDs. You can store these files on an external hard drive or a cloud service. Having a backup ensures that even if the DVD is damaged, your memories are safe. Just remember to regularly check and update your backup copies.
Troubleshooting Common Issues
Common Issues Faced
During the VHS to DVD conversion process, you may face common issues. Understanding how to troubleshoot can save time and frustration.
- Poor Quality Video: If your converted video looks poor, check the VHS player. Ensure the heads are clean. Dirty heads can lead to playback issues.
- Audio Problems: If the sound is muffled or distorted, look at the connections. Make sure all cables are securely connected.
- DVD Not Playing: If the DVD won’t play, ensure it was finalized correctly. Double-check the format; some players only support specific formats.
Seeking Professional Help
If issues persist despite troubleshooting, consider reaching out to a professional. There are many services available that specialize in converting VHS to DVD. While DIY methods are cost-effective, sometimes it’s best to have experts handle it, especially for treasured footage.
Conclusion
Converting VHS to DVD is a rewarding experience that preserves cherished memories for years to come. With some preparation and the right equipment, you can successfully complete this project. While the process may seem overwhelming at first, breaking it down into manageable steps simplifies everything. Follow this guide, and soon you will have beautifully converted DVDs showcasing your favorite moments from the past. Happy converting!